
Sod Installation Services
- Home
- Sod Installation in Northeast Ohio
Subsurface Remediation And Turf Health
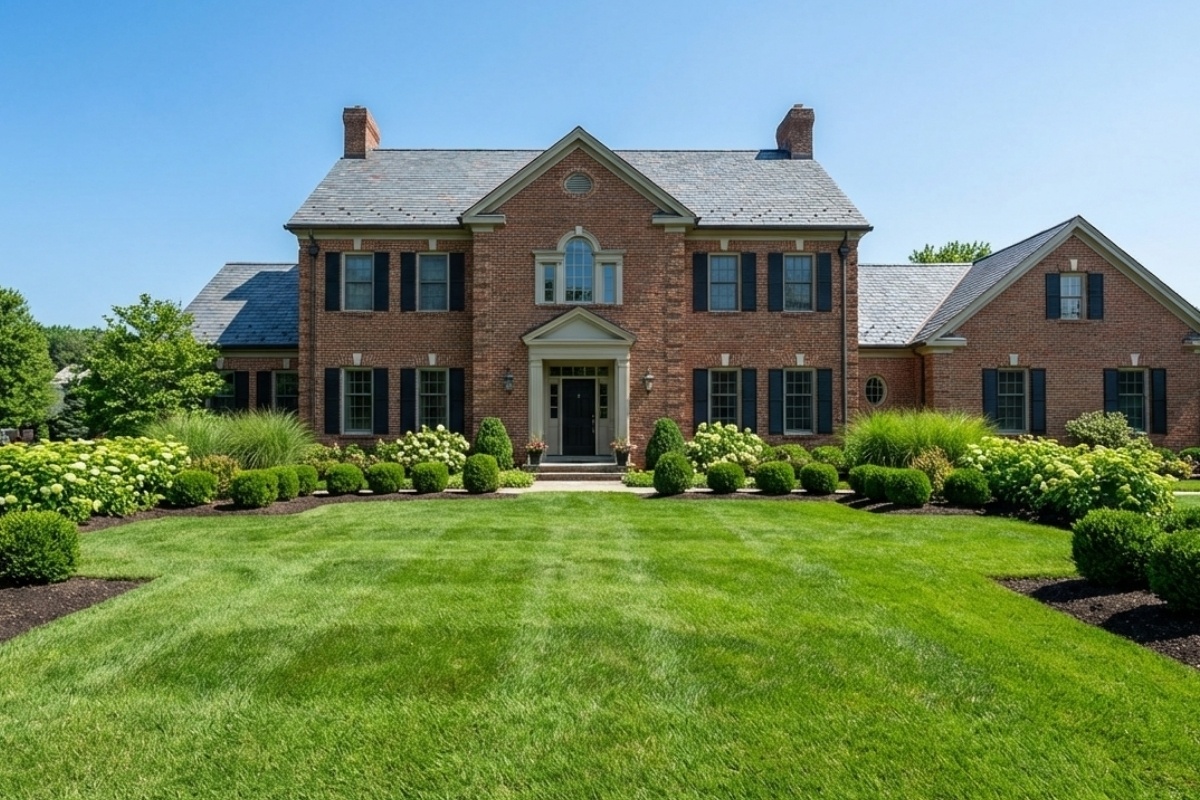
An immaculate, vibrant lawn is the canvas for your entire landscape. While many view sod as a simple overnight fix, achieving a truly enduring, resort-quality lawn requires far more than just laying turf over existing dirt.
Long-term turf health depends entirely on the environment beneath the surface. We prioritize comprehensive subsurface remediation, proper grading, and precise soil amendments before a single roll of sod is installed. By engineering the perfect biological foundation, we ensure your new lawn takes root deeply and vigorously.
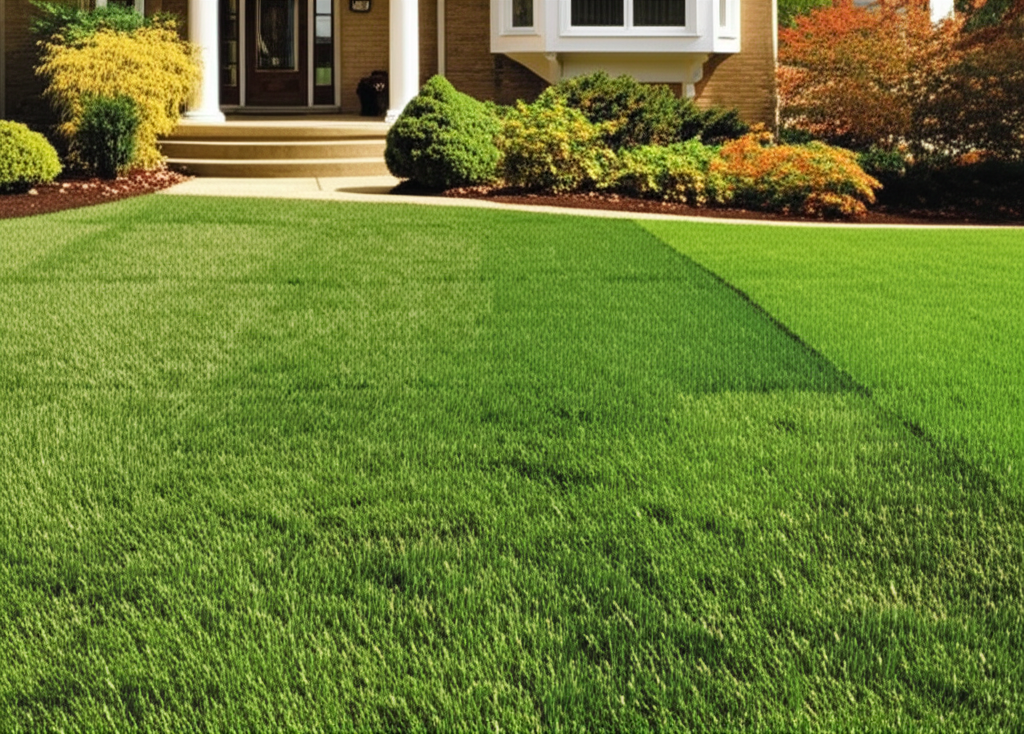
The ultimate proof is in the performance. When properly installed on a meticulously prepared base, our premium sod provides an instantly breathtaking landscape. Your new lawn can be walked upon in just two weeks, mowed in three, and fully mature within a single growing season.
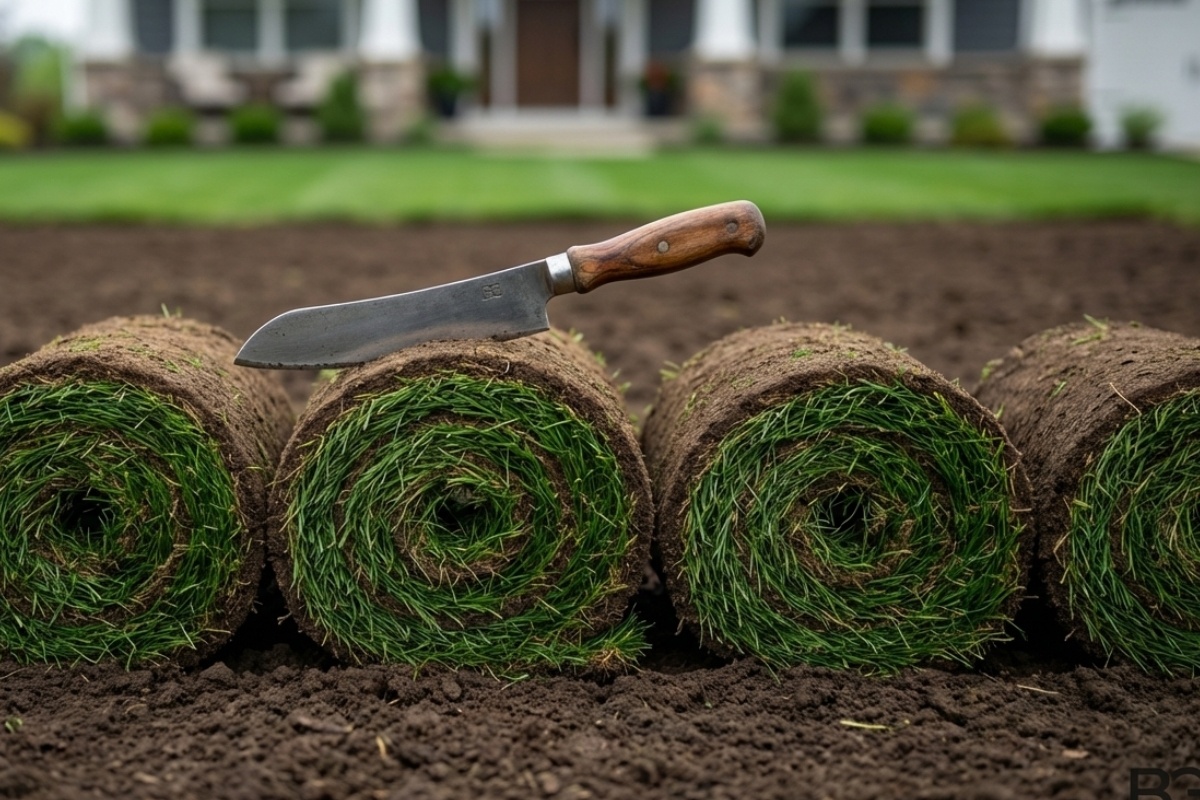
At Bee Green Outdoor Living, we provide premium sod installation and turf remediation services across Greater Cleveland, Akron, Medina, and the surrounding communities.
We offer a completely turn-key approach to establishing a flawless new lawn for your estate. Rather than cutting corners, our comprehensive process includes professional soil testing, precision grading, custom amendments, and expert sod installation—complete with a strategic watering schedule to guarantee the long-term success of your investment.
What Sod Installation Includes
A professionally installed sod lawn can be walked on in two weeks, mowed in three and fully mature in a single growing season. We handle everything from soil testing and grading through installation and initial watering — giving you an instant, established lawn instead of months of waiting on seed.
Our installation process
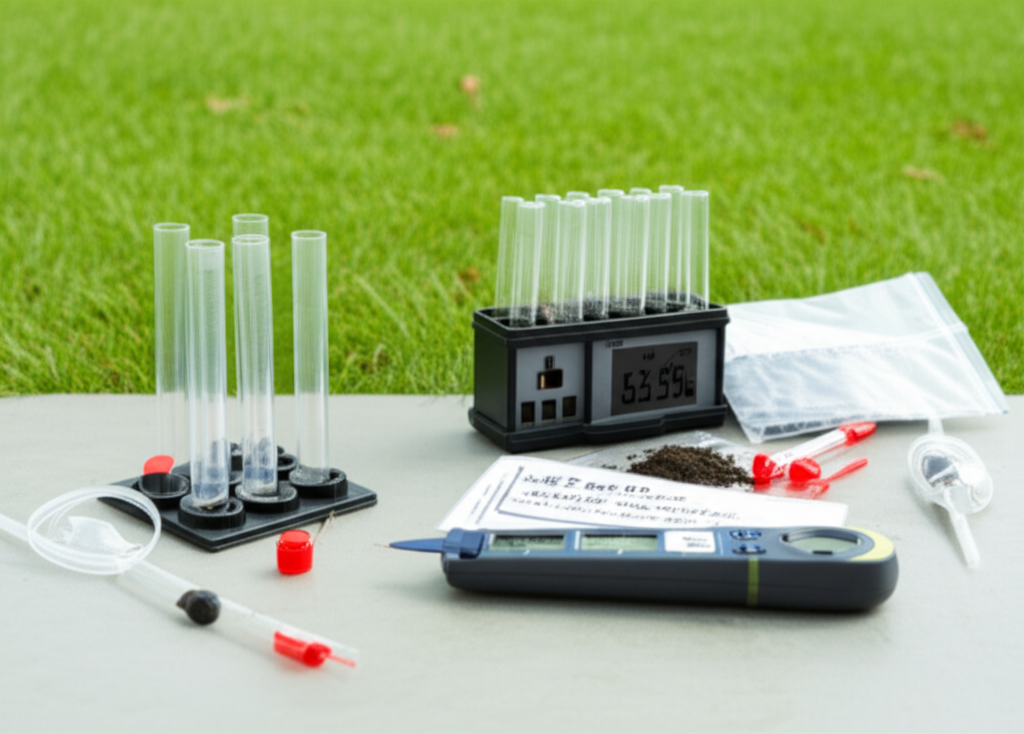
Soil Testing
Every sod project starts with a lab soil test. Northeast Ohio soils are heavy clay with pH between 6.0 and 7.5. Testing tells us if we need lime, sulfur, organic amendments or nutrient supplements. Skipping this step is the number one reason DIY sod installations fail within the first year.
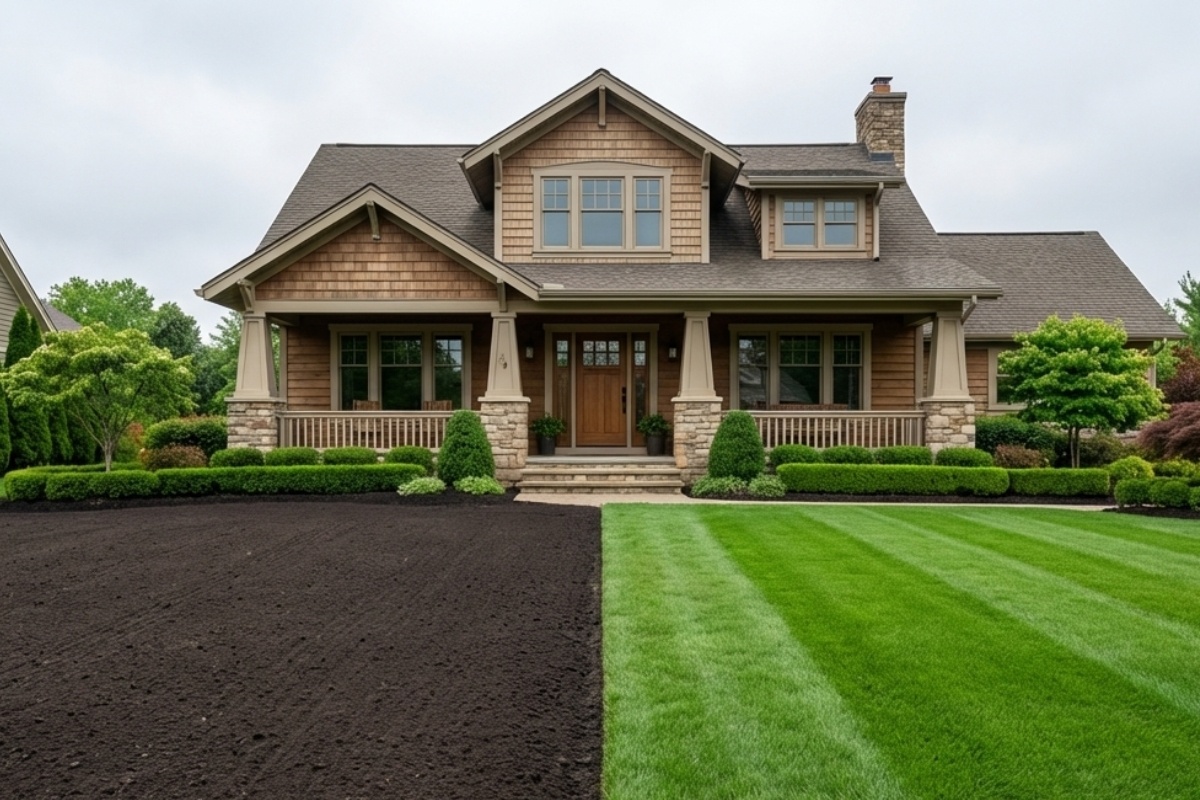
Site Grading
Correct grading drains water away from the foundation and creates an even base for sod. We grade a minimum 2% slope away from structures for the first 6 to 10 feet, then direct water to swales, catch basins or storm inlets. The surface is rolled with a heavy roller to identify low spots before sod goes down.
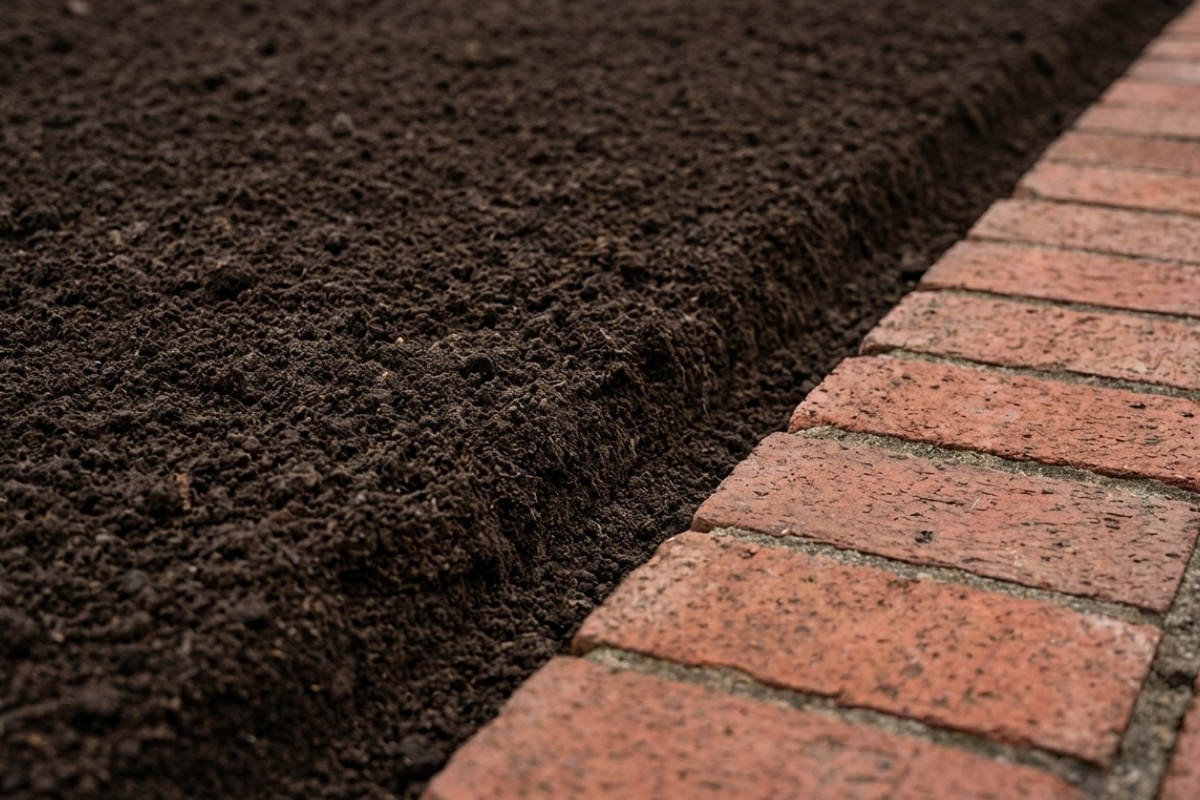
Soil Amendment
Based on soil test results, we amend the top 3 to 4 inches with compost, lime or sulfur, and high-phosphorus starter fertilizer. In our heavy clay soils, 1 to 2 inches of quality compost tilled in reduces waterlogging and improves root development. The amended surface is re-raked and rolled to final grade, one inch below adjacent hardscapes.
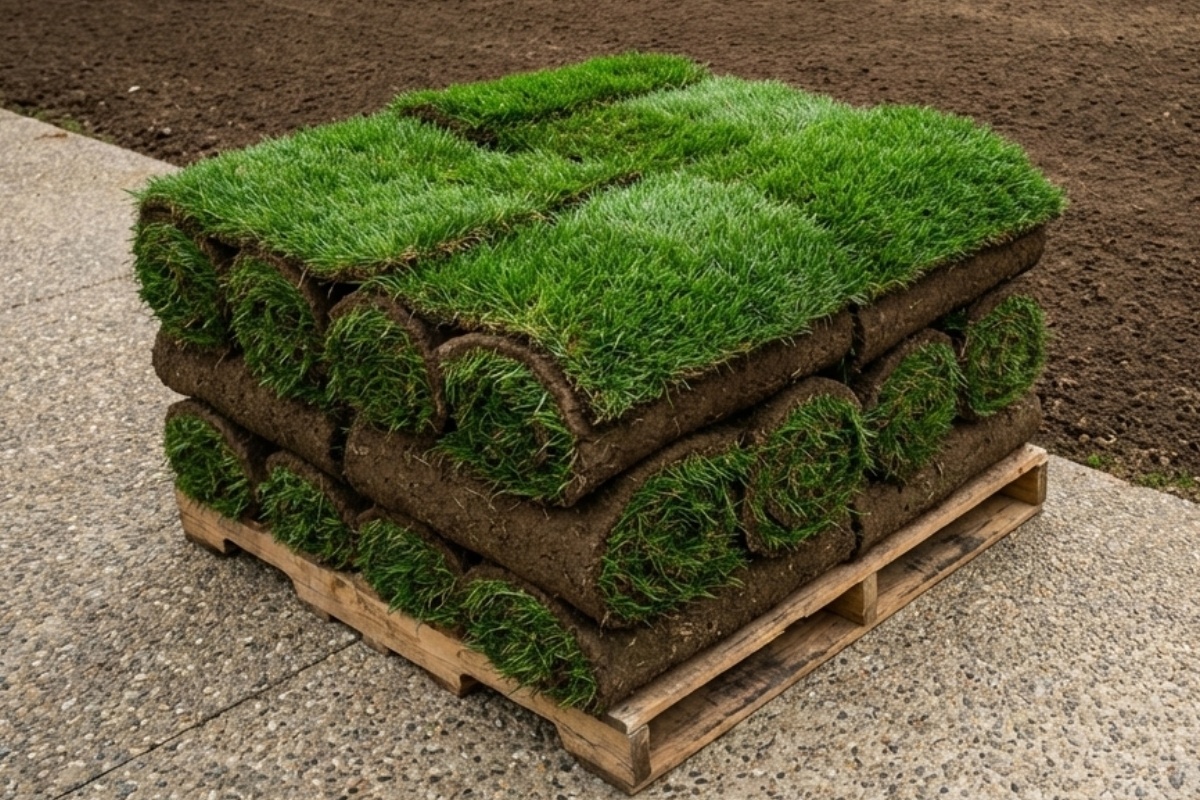
Sod Delivery & Installation
Fresh-cut sod delivered and installed same day. First row laid along a straight edge, subsequent rows staggered in a brick pattern with no gaps or overlaps. Edges cut tightly around trees, sprinkler heads and utilities. Slopes staked with biodegradable staples. The entire area rolled for direct root-to-soil contact.
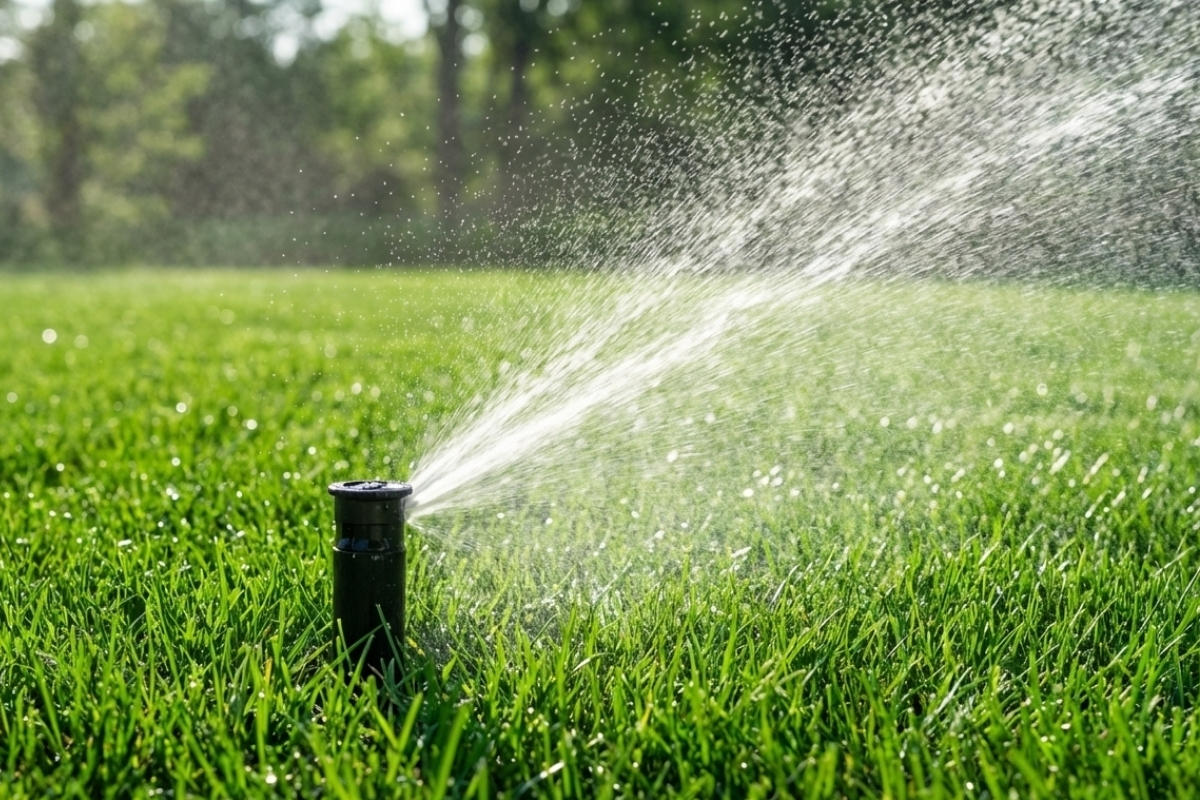
Establishment Care
Every customer receives a written watering and maintenance schedule. Weeks 1 to 2 require daily watering to keep sod moist. Weeks 3 to 4 reduce to every other day as roots anchor. Weeks 5 to 8 shift to deep, infrequent watering for strong root growth. First mow at 3.5 to 4 inches, usually 2 to 3 weeks after installation.
What Happens Below the Sod Determines Everything Above It
This region is hard on sod installation. Clay soils compact and drain poorly. Summer heat can stress new roots before they establish. And Northeast Ohio precipitation swings from drought to deluge with little warning. The majority of sod failures we diagnose come down to three preventable issues.
The Soil Problem
Ninety percent of sod failures we diagnose trace directly back to what is underneath the sod. Northeast Ohio soils are predominantly heavy clay with poor drainage. Laying sod directly on unamended, uncompacted clay is the single most common mistake and the sod will typically fail within the first year. Roots cannot penetrate compacted clay, water pools on the surface, and disease follows.
Our soil preparation standard
-
Site Stripping and Rough Grading:
We remove all depleted turf, weeds, and organic debris down to the subgrade. We then establish a strict minimum 2% positive drainage slope away from architectural foundations for the first 6 to 10 feet, directing all surface water toward designated swales or catch basins. -
Subsurface Decompaction:
Heavy clay prevents root penetration and causes immediate waterlogging. We mechanically fracture and decompact the existing substrate to a depth of 4 to 6 inches, ensuring young sod roots have the oxygen and physical space required to anchor permanently. -
Organic Amendment Integration:
Based on specific lab soil analysis, we introduce targeted amendments directly into the decompacted clay. By tilling in high-yield compost, lime, or sulfur, we correct the pH balance and drastically improve the soil's natural water permeability. -
Final Surface Profiling:
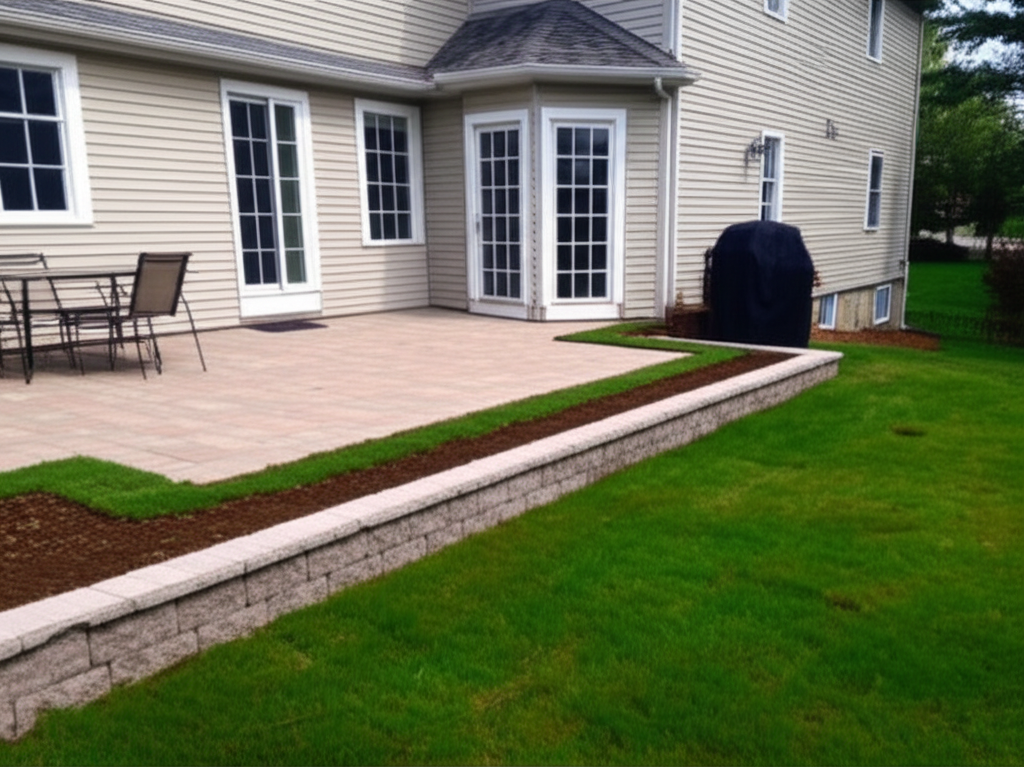
The amended soil is carefully raked, leveled, and compacted with a heavy roller to expose any settling or low spots. We calibrate the final grade to sit precisely one inch below adjacent hardscaping, ensuring a seamless, flush transition between your hard surfaces and the new lawn.
Soil Testing
Lab analysis of pH, nutrients and organic matter content. Northeast Ohio clay typically needs lime or sulfur correction plus compost to support healthy root development. We test every project site before any soil work begins.
Proper Grading
Minimum 2% slope away from foundations for the first 6 to 10 feet with positive drainage to property boundaries or catch basins. Surface rolled and leveled to eliminate low spots that would collect water under the sod.
Establishment Watering
New sod requires daily watering for 14 days, tapering to every other day for weeks 3 and 4, then deep infrequent watering through week 8. Improper watering is the second most common failure point after soil preparation.
Grass Types for Northeast Ohio
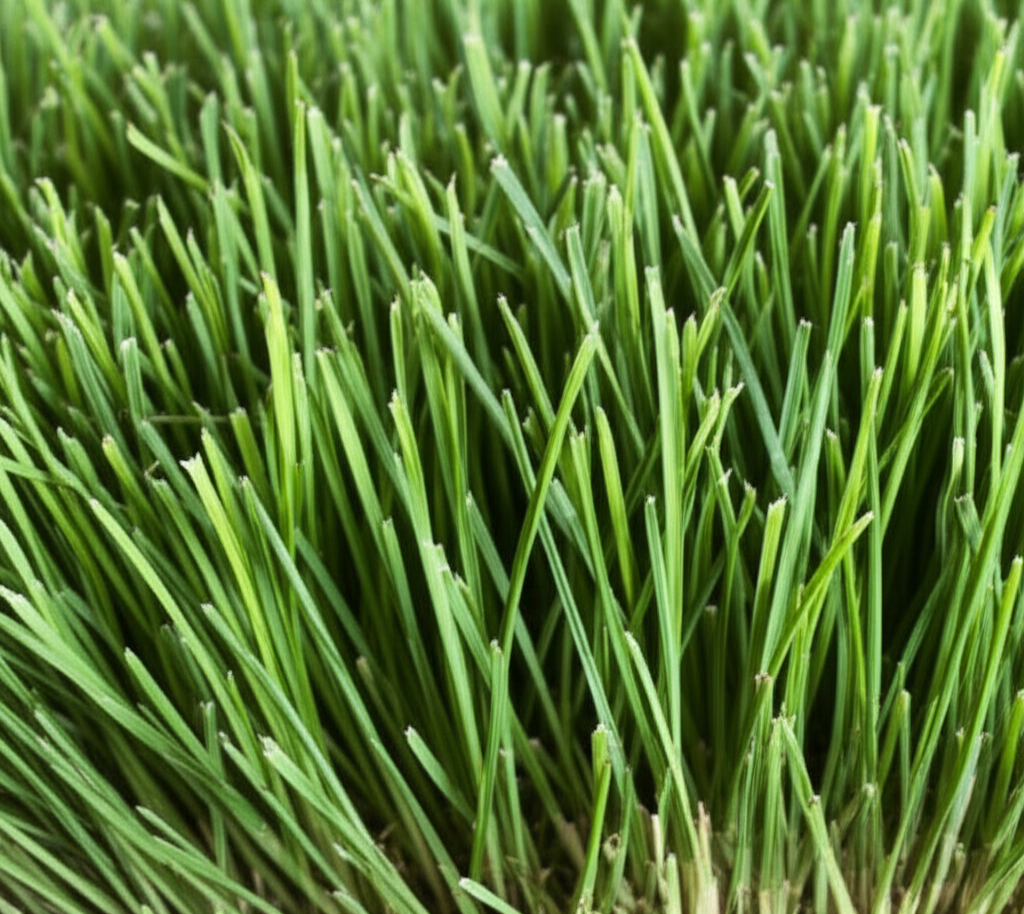
Kentucky Bluegrass
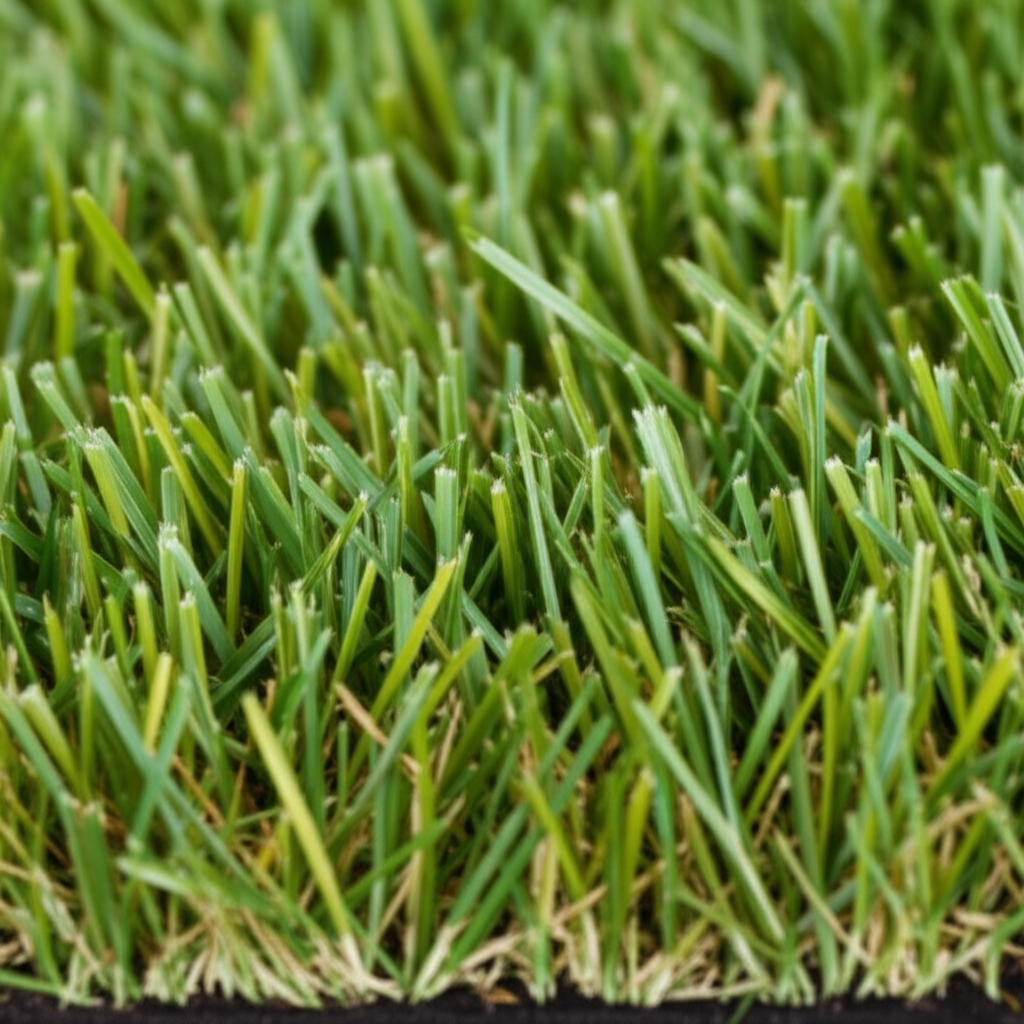
Our premium turf grass for Northeast Ohio. A dark green, fine-textured, dense sod with above-average rhizome repair characteristics. Kentucky bluegrass self-spreads to fill in thin spots naturally, handles our cold winters without issue, and delivers the classic residential lawn appearance most homeowners want.
Requires full to partial sun (minimum 4 to 6 hours direct) and benefits from regular fertilization and irrigation. Our standard recommendation for front yards and high-visibility areas where appearance matters most.
Tall Fescue
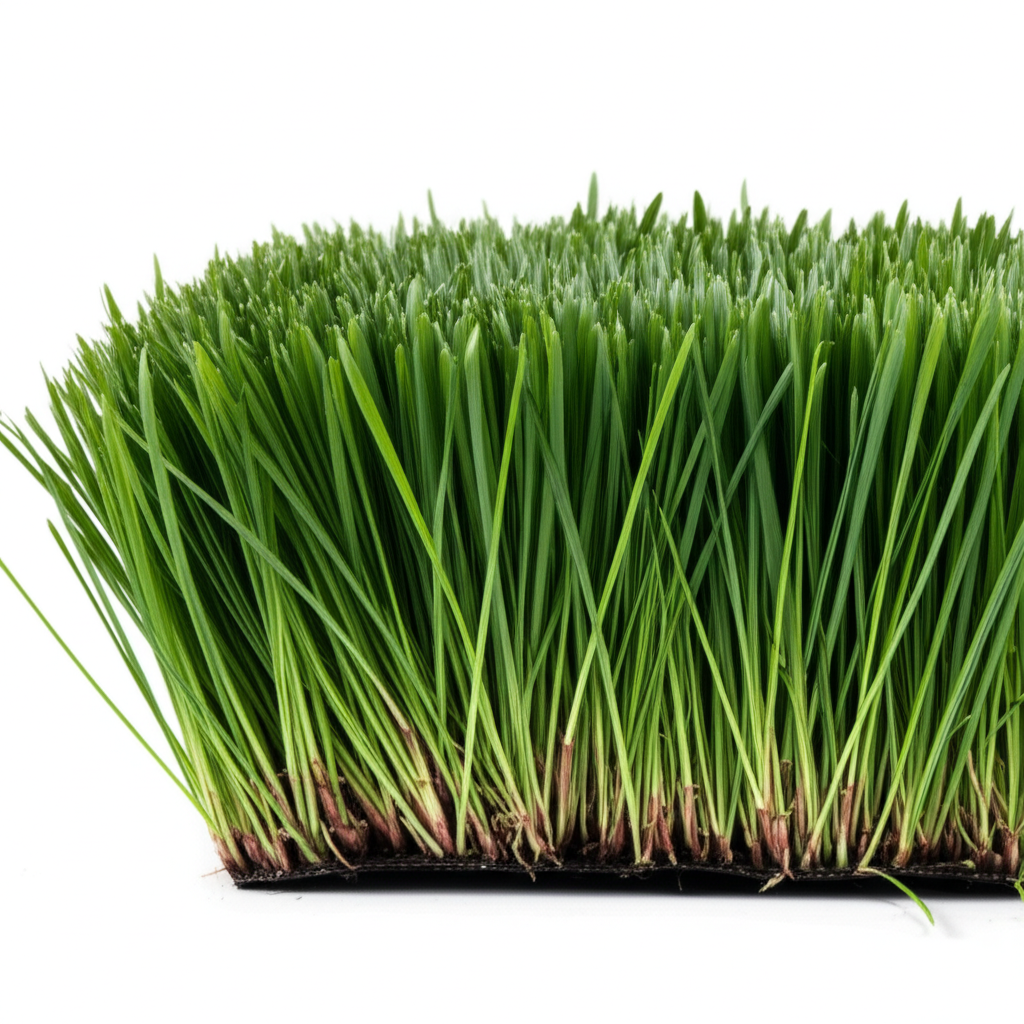
Deep-rooting with excellent drought tolerance. Tall fescue has broader blades than bluegrass with a medium-dark green color. The root system reaches 6 or more inches deep, providing strong performance under heat stress and low watering conditions.
Bunch-type growth means damaged areas need overseeding rather than self-repair. Performs well in partial shade with only 3 to 4 hours of direct sun. Lower maintenance requirements make it ideal for backyard play areas, non-irrigated lawns and properties with mixed sun and shade.
Bluegrass-Fescue Blends
Our most popular recommendation for Northeast Ohio properties. The bluegrass component provides dense self-repair and fine texture in sunnier sections. The fescue component adds drought tolerance, shade performance and wear resistance from foot traffic.
We purchase our sod from area farms using regional mixes formulated specifically for the Ohio market. Local sourcing ensures the cultivar varieties are already acclimated to our soil conditions and climate patterns.
When to Install Sod
Sod can be installed from April through November — the entire frost-free season. The best window is late summer through early fall (September to October) when cool nights, warm soil and minimal weed competition create ideal conditions.
Spring installations (April to May) are our second-best window. Summer installations work but require more aggressive watering to manage heat stress. Unlike seed, sod does not need to wait for optimal germination temperatures because it arrives with an established root system.
Sod and Outdoor Living Projects
We install a significant amount of sod as part of finishing outdoor living, hardscape and drainage projects. Construction equipment, material staging and foot traffic damage existing lawns. We grade, amend and sod all disturbed areas as part of project completion.
When paired with irrigation, new lawns are watered automatically from day one — eliminating the manual watering burden that leads to so many sod failures.
Our Sod Installation Process
Phase 1
Phase 2
Phase 3
Phase 4
Phase 5
Sod Installation and the Larger Outdoor Living Picture
Sod Installation is rarely the only thing happening on a project. Most of our builds combine sod installation with one or more of the following:
Outdoor kitchens
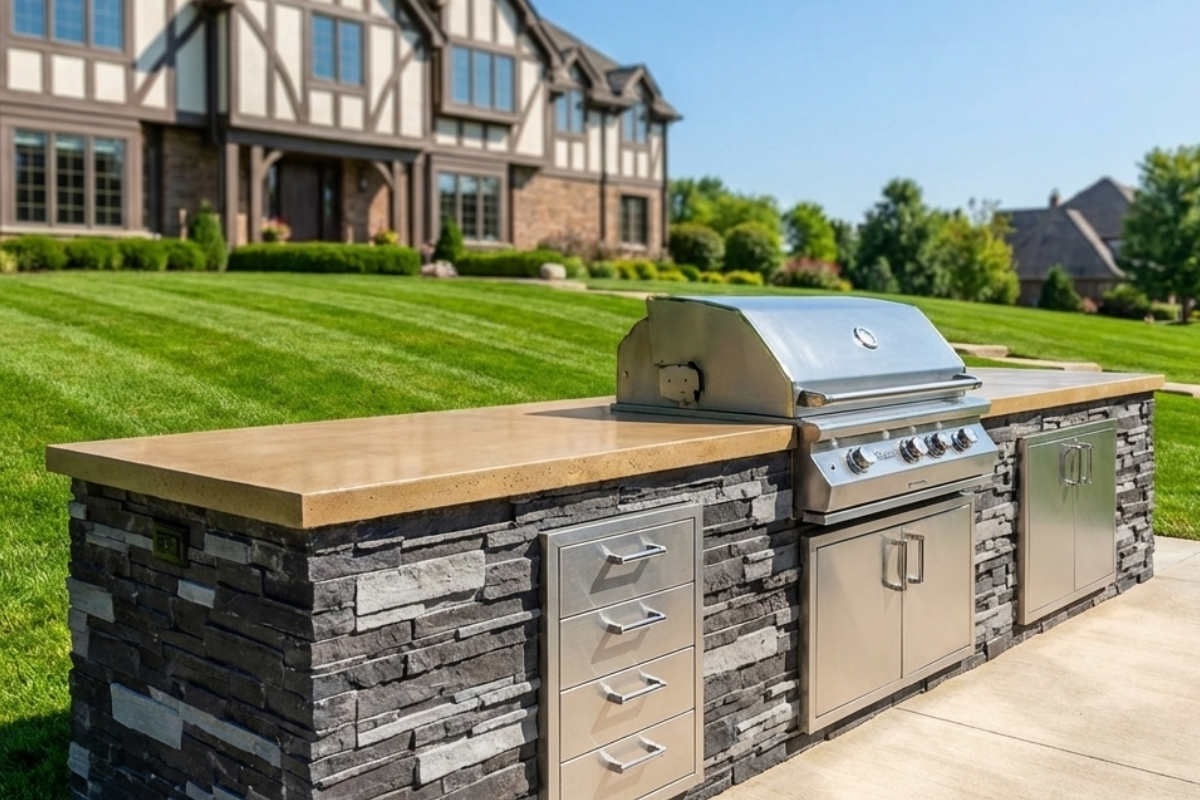
Outdoor kitchen construction disturbs significant lawn area with equipment access, material staging, and utility trenching. We restore all affected lawn areas with fresh sod as part of the kitchen project close-out — no separate contractor needed.
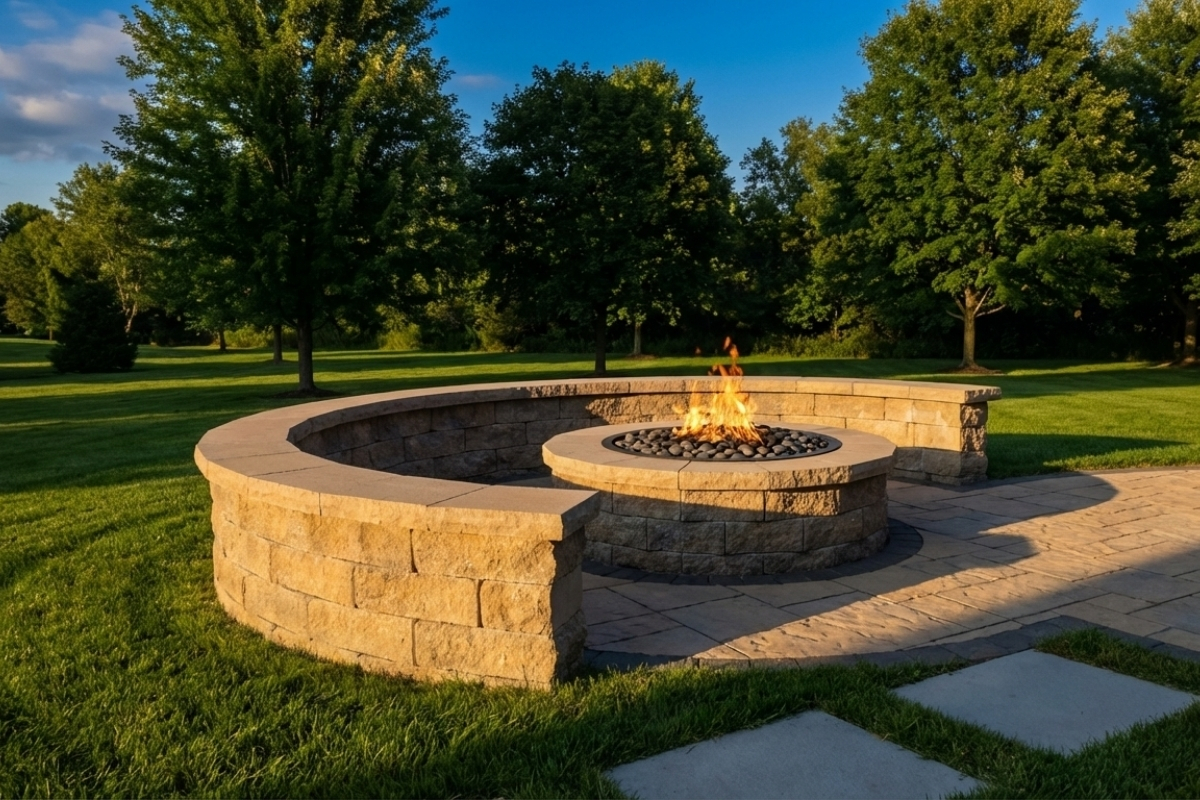
Fire features
Fire pit and fireplace installations require excavation, gas line trenching, and patio work that impacts surrounding lawn areas. We grade and install new sod around the finished fire feature for a clean, completed look.
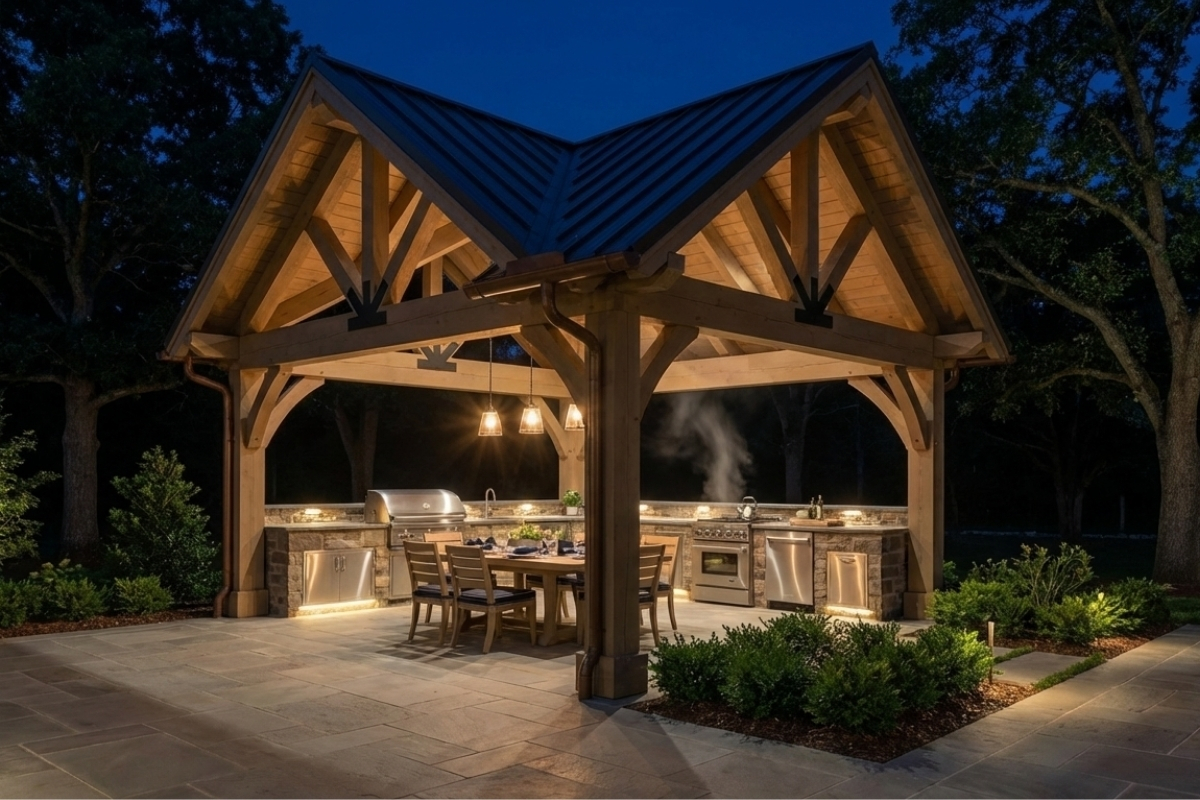
Pergolas and shade structures
Pergola footing excavation and concrete work leaves disturbed soil around the structure perimeter. We finish-grade and install sod after construction to restore the lawn and frame the new structure.
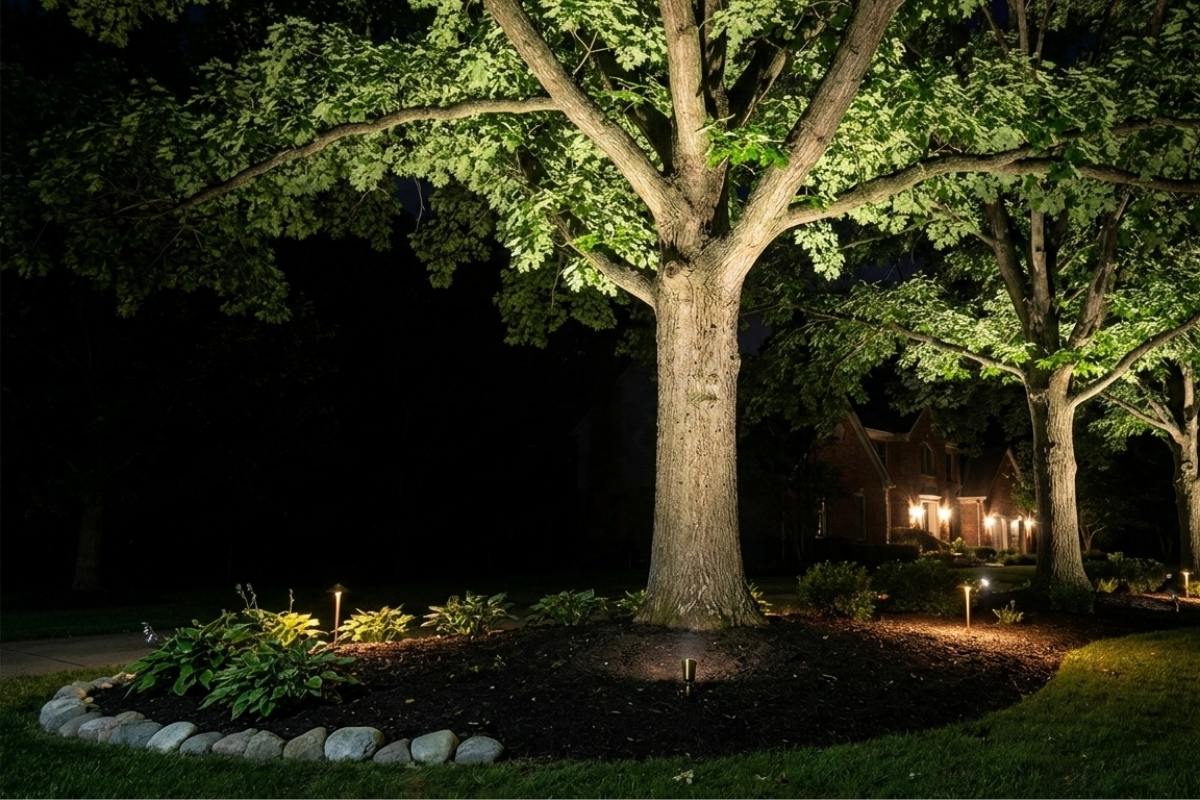
Landscape lighting
Low-voltage landscape lighting wire runs are trenched through lawn areas during installation. When lighting and sod are installed together, trenching is coordinated to avoid recutting established lawn.
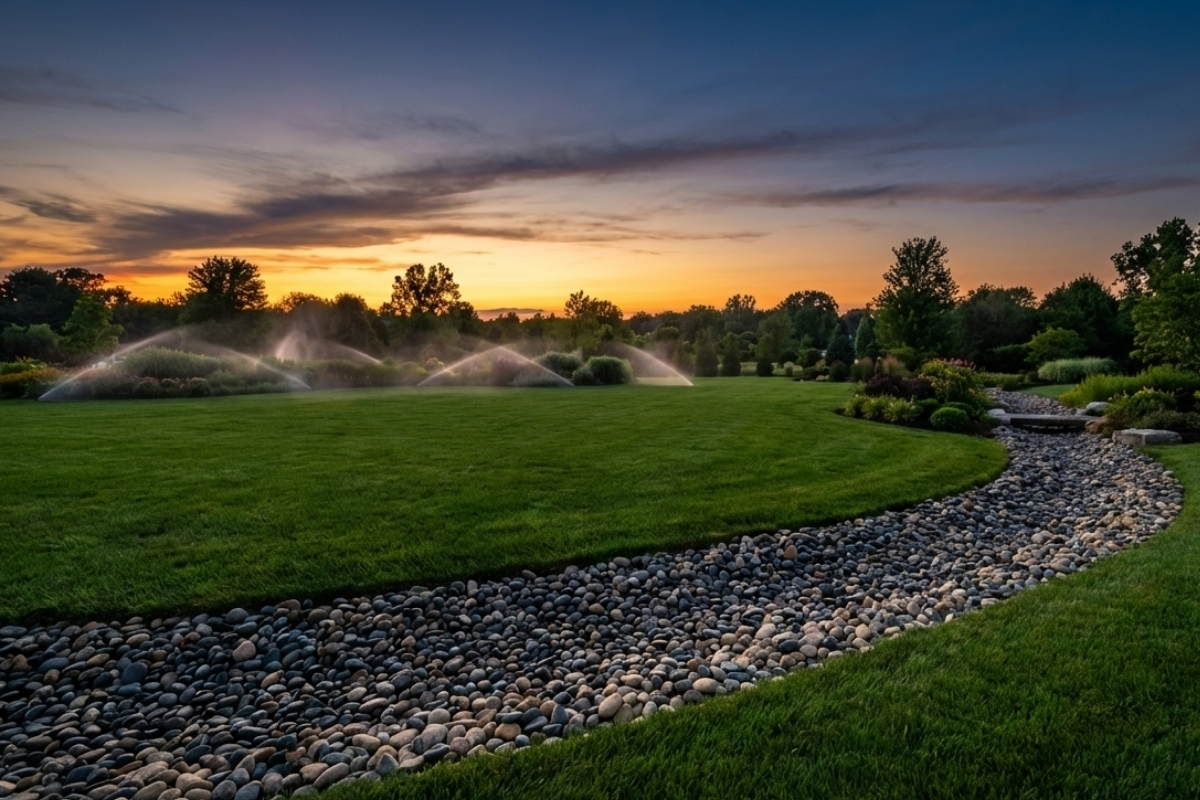
Drainage systems
Proper drainage is the single most important factor in sod survival on Northeast Ohio clay. We install French drains, catch basins, and grading corrections before sod goes down to prevent standing water and root rot.
Landscaping
Sod installation is the final step in every landscaping project. Planting beds, shrubs, and perennials go in first, then sod covers all remaining lawn areas for a finished, move-in-ready yard.
Areas We Serve
This map highlights many of the communities where we regularly work. If you don’t see your area listed, give us a call — we’d love to discuss your project.