Planning Your Perfect Patio: A Step-by-Step Guide
A patio is the foundation of your outdoor living space. Get the planning right and everything that follows — furniture, fire features, kitchens, lighting — falls into place naturally. Get it wrong and you're living with a surface that's too small, in the wrong spot, made of the wrong material, or draining toward your house.
Most patio projects that disappoint their owners went wrong in the planning phase, not the building phase. The construction is straightforward for an experienced crew. The thinking that happens before construction — that's what determines whether you love the patio or just tolerate it.
Here's how to plan a patio project from start to finish. We've refined this process across hundreds of builds in Northeast Ohio.
Step 1: Define How You'll Use the Space
Before thinking about materials, sizes, or layouts, answer this: What will you actually do out here?
Different activities need different spaces. A patio that's perfect for family dinners is wrong for large parties. A fire pit zone designed for intimate evenings doesn't work for 20-person gatherings. Be specific about your use cases:
Dining: How many people at a typical dinner? How many at maximum (holidays, parties)? Round or rectangular table? This determines the dining zone size — figure 12×12 feet minimum for a 6-person round table with chairs, 12×16 for an 8-person rectangular setup.
Lounging: Sectional sofa? Individual chairs? Chaise lounges? Lounge furniture is larger than dining furniture. A sectional and coffee table need a 10×12 foot zone minimum.
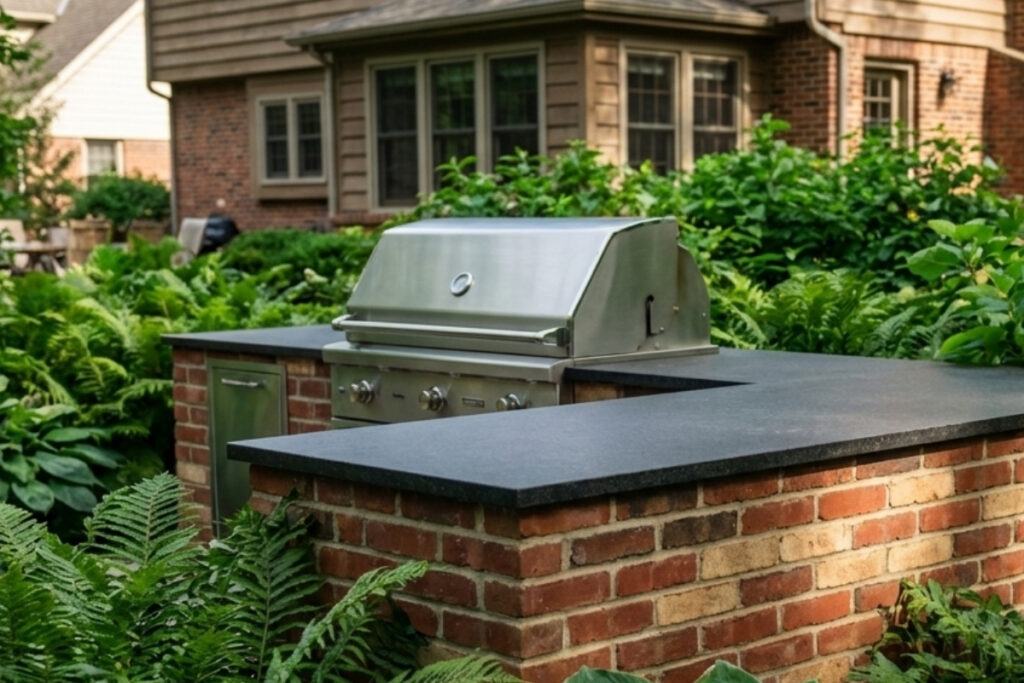
Cooking: A portable grill needs only a 4×6 foot landing zone. A built-in outdoor kitchen needs 8×12 feet minimum for the island plus traffic clearance. See our outdoor kitchen essentials guide for kitchen-specific planning.
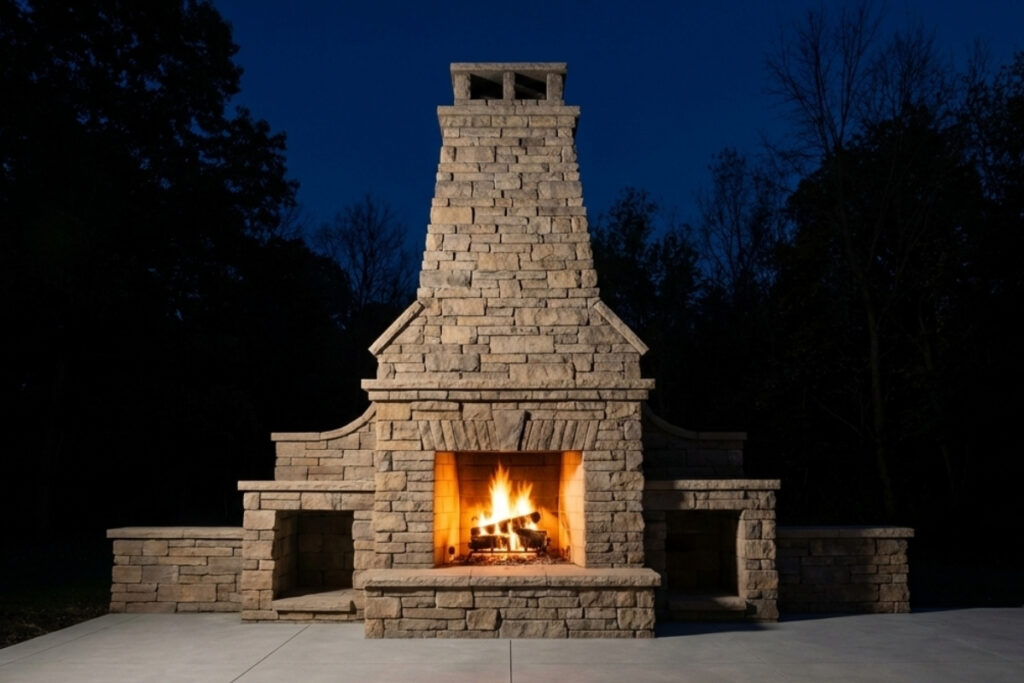
Fire: A fire pit zone with seating needs a 12×12 to 16×16 foot area depending on pit size and seating configuration.
Kids' play adjacent: If the patio overlooks a play area, you need sightlines and easy access — not a walled-off enclosure.
Mixed use: Most patios serve multiple functions. The key is defining zones and sizing them appropriately. A common configuration: dining zone + fire pit zone + transition between them, with a walkway connecting to the house.
Step 2: Determine the Right Size
The number one planning mistake is building too small. A patio that feels generous on a plan feels tight once furniture is on it and people are moving around.
Sizing Guidelines
| Use | Minimum Size | Comfortable Size |
|---|---|---|
| Dining (4–6 people) | 10×10 ft (100 sqft) | 12×14 ft (168 sqft) |
| Dining (8–10 people) | 12×16 ft (192 sqft) | 14×18 ft (252 sqft) |
| Lounging (sectional) | 10×12 ft (120 sqft) | 12×16 ft (192 sqft) |
| Fire pit + seating | 12×12 ft (144 sqft) | 16×16 ft (256 sqft) |
| Outdoor kitchen zone | 8×12 ft (96 sqft) | 10×16 ft (160 sqft) |
| Full outdoor room | 16×20 ft (320 sqft) | 20×24 ft (480 sqft) |
Rule of thumb: Take your estimated size and add 20%. You'll use every inch.
Traffic flow: Add 3–4 feet of clear path between functional zones and around the patio perimeter. People need to move through the space without climbing over furniture. A dining zone plus fire pit zone with traffic between them typically requires 400–600 square feet total.
How to Test Your Size
Before committing, lay out the patio footprint on your yard. Use marking paint, garden hoses, or stakes and string at the planned dimensions. Then place your furniture (or stand-ins for furniture you plan to buy) within the layout. Walk through it. Sit down. Have someone walk behind your chair. Move between zones. This 30-minute test prevents expensive sizing mistakes.
Step 3: Choose the Location
Not all spots are equal. The best patio location considers:
Relationship to the House
The patio should connect to the house through a door that gets used — typically the back door, sliding door, or kitchen exit. The transition between inside and outside should be seamless. Steps between the door and patio are fine, but the fewer the better. On properties with walkout basements (common in Brecksville, Broadview Heights, and hilly areas of Medina County), a lower-level patio connects directly to the walkout — no steps at all.
Sun and Shade
Where does the sun hit your yard, and when? In Northeast Ohio, a south-facing patio gets full afternoon sun from April through October — warm and bright, but potentially hot in midsummer. A north-facing patio stays cooler but gets less direct light in shoulder seasons.
Most homeowners want a mix: sun on the dining area (pleasant for dinner from May through September) and shade over the lounge zone (comfortable in July heat). A pergola or shade sail provides targeted shade without blocking the entire patio.
Drainage and Grade
Water must drain away from the house — minimum 1% slope (1/8 inch per foot). If the grade drops away from the house, the patio sits naturally at or near the house level and drains with the existing grade. If the yard is flat or slopes toward the house, the patio design needs to incorporate a drainage plan — catch basins, channel drains, or regrading.
Privacy
Is the patio visible to neighbors? From the street? Sight lines from adjacent properties determine whether you need screening — plantings, a fence, a seat wall, or a pergola. Privacy isn't just about walls — elevation changes, strategic plantings, and even the orientation of your seating can manage sight lines without building a fortress.
Utilities
Before placing a patio, know what's underground. Gas lines, water lines, sewer, electrical, cable, and irrigation are all potential conflicts. Call Ohio 811 before any design work to mark utility locations. Building a patio over a sewer cleanout or main shutoff valve is a mistake you'll discover at the worst possible time.
Step 4: Select Your Material
Material choice affects cost, durability, appearance, and maintenance. Here's the quick version — see our best patio materials guide for the full comparison.
| Material | Cost/Sqft | Lifespan | Maintenance | Best For |
|---|---|---|---|---|
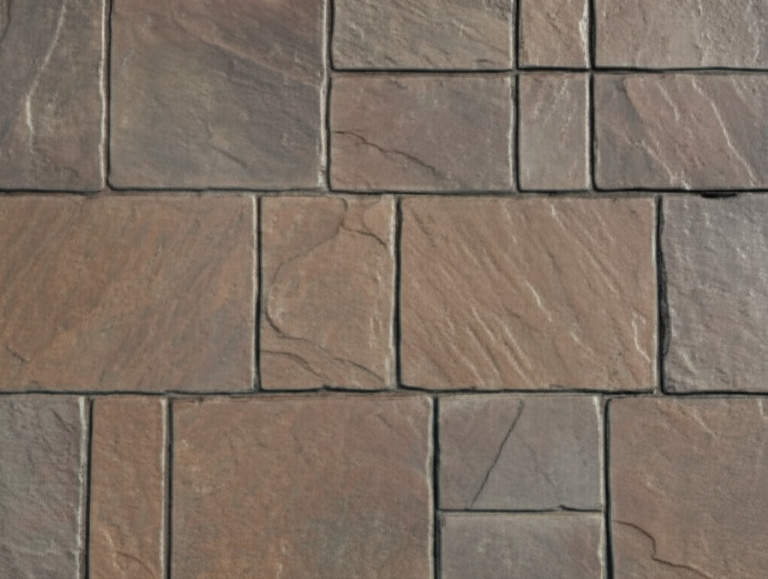
| Concrete pavers | $25–$50 | 25–50+ yrs | Low | Most projects |
| Natural stone | $35–$70 | 50–100+ yrs | Low–moderate | Premium builds |
| Stamped concrete | $15–$30 | 15–25 yrs | Moderate–high | Budget builds |
| Porcelain pavers | $40–$70 | 30–50+ yrs | Very low | Modern design |
For Northeast Ohio, concrete pavers are our default recommendation — they handle freeze-thaw without cracking and are individually replaceable. Our pavers vs concrete comparison and stamped concrete vs pavers comparison cover the tradeoffs in detail.

Step 5: Plan the Layout
Single-Level vs. Multi-Level
Single-level: One continuous surface. Simpler to build, lower cost, and appropriate for flat lots. Works well for patios under 500 square feet.
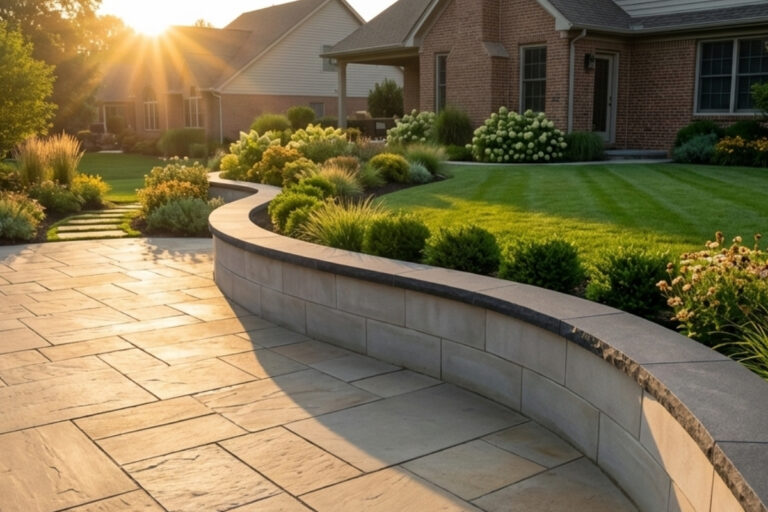
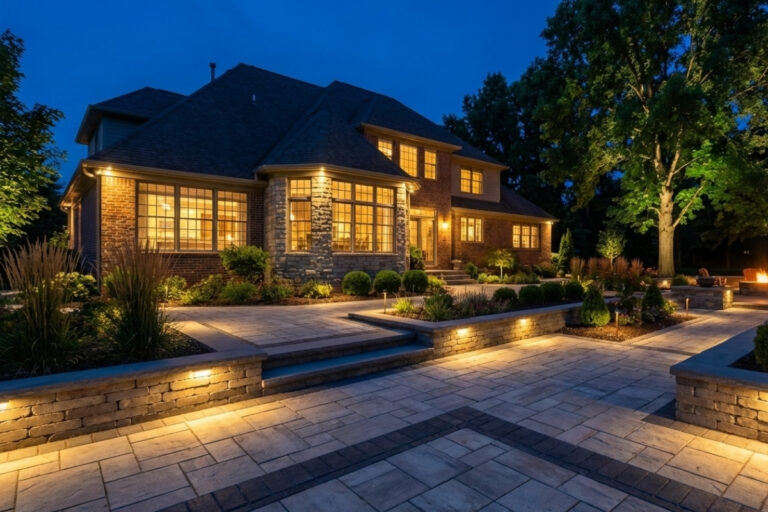
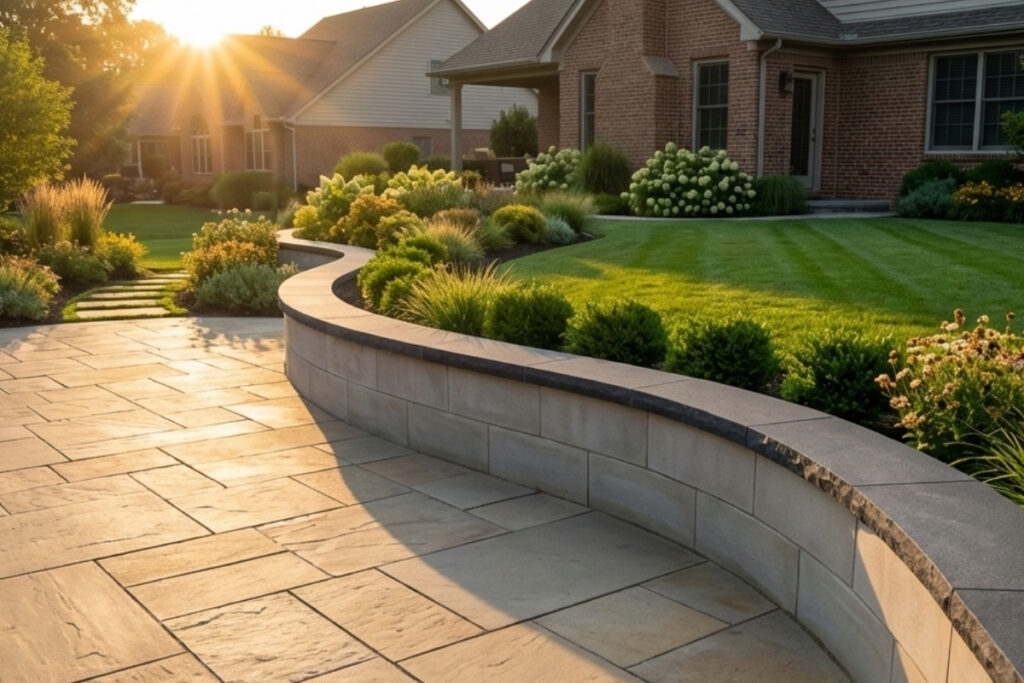
Multi-level: Two or more surfaces at different elevations connected by steps, with retaining walls managing the grade transition. Creates distinct zones (dining up, fire pit down) and adds visual interest. Common on sloped lots across Cuyahoga and Medina counties.
Shape
Rectangular: Clean, efficient, works with most home styles. The easiest to furnish and the most material-efficient (minimal cutting waste).
Curved: Organic shapes that follow natural contours or create circular gathering zones. More cutting labor and material waste, but distinctive visual impact. Curves work particularly well around fire pits and in garden settings.
Freeform: Irregular shapes that respond to site conditions — following the house line, wrapping around a tree, fitting between existing features. Custom work that requires experienced design and layout.
Integration Points
Plan now for features you'll add later, even if you're not building them yet:
- Gas line stub: If you might add a fire pit or grill later, run the gas line during patio construction. Trenching through finished pavers costs significantly more than running the line during the initial build.
- Electrical conduit: Same principle. If landscape lighting, kitchen outlets, or a sound system are possibilities, install conduit before the base goes down.
- Drainage: Design the full drainage system now. Adding catch basins to an existing patio is possible but disruptive.

Step 6: Set Your Budget
Be realistic about cost — and be clear about what "cost" includes:
Patio Surface Only
| Size | Pavers | Natural Stone | Stamped Concrete |
|---|---|---|---|
| 300 sqft | $7,500–$15,000 | $10,500–$21,000 | $4,500–$9,000 |
| 500 sqft | $12,500–$25,000 | $17,500–$35,000 | $7,500–$15,000 |
| 800 sqft | $20,000–$40,000 | $28,000–$56,000 | $12,000–$24,000 |
Complete Patio Project (Surface + Features)
Most patio projects include more than just the surface. Typical additions:
- Steps: $1,500–$4,000
- Seat wall: $3,000–$8,000
- Retaining wall (if grade change): $3,500–$15,000
- Fire pit: $3,500–$15,000
- Landscape lighting: $2,000–$6,000
- Landscape restoration: $1,000–$3,000
A realistic range for a complete patio project with features: $20,000–$60,000 depending on size, material, and complexity. Our patio cost guide has detailed breakdowns.
Where to Prioritize Budget
If you need to make tradeoffs:
- Don't cut the base. The aggregate base and drainage are what make the patio last. Saving $500 on base material costs $5,000+ when the patio settles in 3 years.
- Invest in the patio surface. You'll look at it every day for decades. Choose a material you love.
- Phase the features. Build the patio now. Add the fire pit next year. Add the kitchen the year after. A phased approach spreads cost while building on a properly designed foundation.

Step 7: Plan Your Timeline
Design and Planning Phase (4–8 Weeks)
- Initial consultation and site evaluation
- Design development and revisions
- Material selection and samples
- Permit applications (if retaining walls over 4 feet or gas/electrical work)
- Contract and scheduling
Construction Phase (1–4 Weeks)
| Project Scope | Construction Time |
|---|---|
| Simple patio (300–500 sqft, no walls) | 5–8 working days |
| Patio + steps + seat wall | 8–14 working days |
| Multi-level patio with retaining walls | 15–25 working days |
| Full outdoor living build | 4–8 weeks |
Best time to build in Ohio: May through October. Design and planning can start in winter for spring construction — this is actually the most efficient approach, since it avoids the spring design rush.
Weather Factor
Northeast Ohio weather adds uncertainty to any construction schedule. Rain delays, unseasonably cold temperatures, and wet soil conditions can extend timelines. We build schedule flexibility into every project and communicate proactively about delays.
Step 8: Choose Your Contractor
We're biased here, obviously. But the selection criteria are the same regardless of who you hire:
- Licensed and insured. Verify. Ask for certificate of insurance.
- Experience with your material. Paver installation, natural stone, and stamped concrete are different skill sets.
- References you can visit. Not just photos — go see completed projects in person.
- Detailed written proposal. Material specifications, base construction details, drainage plan, timeline, and total cost. Vague proposals lead to change orders.
- No pressure to sign immediately. A contractor who needs your signature today is a contractor you should avoid.
Frequently Asked Questions
How long does patio planning take?
From first consultation to construction start: 4–8 weeks. Simpler projects move faster. Complex multi-element builds with engineering, permits, and custom design take longer. Starting the design process in winter for spring construction is the most efficient timeline.
Can I plan a patio in phases?
Absolutely — and we recommend it. Build the core patio surface first with provisions for future additions (gas line stub, electrical conduit, prepared connection points). Add the fire pit, kitchen, pergola, or lighting in subsequent phases. Just make sure the full layout is designed upfront, even if construction is phased.
What's the biggest mistake in patio planning?
Building too small. The second biggest: not planning drainage. Both are expensive to fix after the fact. Size up, and design the drainage system before the first shovelful of dirt moves.
Do I need a permit for a patio?
Ground-level patios (not elevated decks) typically don't require a building permit in most Northeast Ohio municipalities. However, retaining walls over 4 feet, gas line work, and electrical all require permits. We verify requirements for your municipality before construction begins.
How do I get started?
Request your design consultation. We walk your property, discuss your vision, take measurements, and begin the design process. No commitment — just a conversation about what's possible on your property. For inspiration before we meet, browse our patio ideas.
Bee Green Outdoor Living designs and builds custom patios across Greater Cleveland, Medina County, and Lorain County.