Designing Your Dream Outdoor Kitchen
An outdoor kitchen is one of the most complex projects in residential outdoor living. It integrates masonry construction, gas plumbing, electrical, potentially water plumbing, countertop fabrication, appliance specification, and integration with the surrounding patio and hardscape. Getting the design right before construction starts is essential — changes after the island is built are expensive or impossible.
We've designed and built outdoor kitchens across Greater Cleveland, Medina County, and Lorain County for over 20 years. Here's the design process we've refined across hundreds of projects — the decisions you need to make, in the order you need to make them.
Phase 1: Define Your Cooking and Entertaining Style
Before you even look at a layout or pick up an appliance, stop and ask yourself these questions straight –
Cooking methods shape what tools count. Does grilling cover everything? Maybe just grilled items with sides, maybe some sauce drizzles too. Appetizers start one way, desserts end another — those need planning. Pizza once a week changes things. Smoking takes time, space, patience. Fried foods soak in oil — lots of it — so equipment matters more here. Appliances gain importance based on how you handle food heat and prep work.
What kinds of things do you like to do for fun? A household of eight handles weekend gatherings every month. Even regular weeknights feel lively with a crowd of four at the table. A dozen folks showing up each summer — your space needs to fit real life, not some ideal never-happens version.
How often? When cooking outdoors half a dozen or so weeks out each season, pick tools built to last plus ones that keep things moving smoothly. For just one big bash every few months, simpler setups might do fine.
When does someone refuse interruptions in the kitchen? Picture a person who talks nonstop with visitors while flipping burgers. That habit might force them to face the cooking area away from others. So if talking while cooking is normal, the stove looks out at the property instead of into the living room.
Phase 2: Choose Your Layout
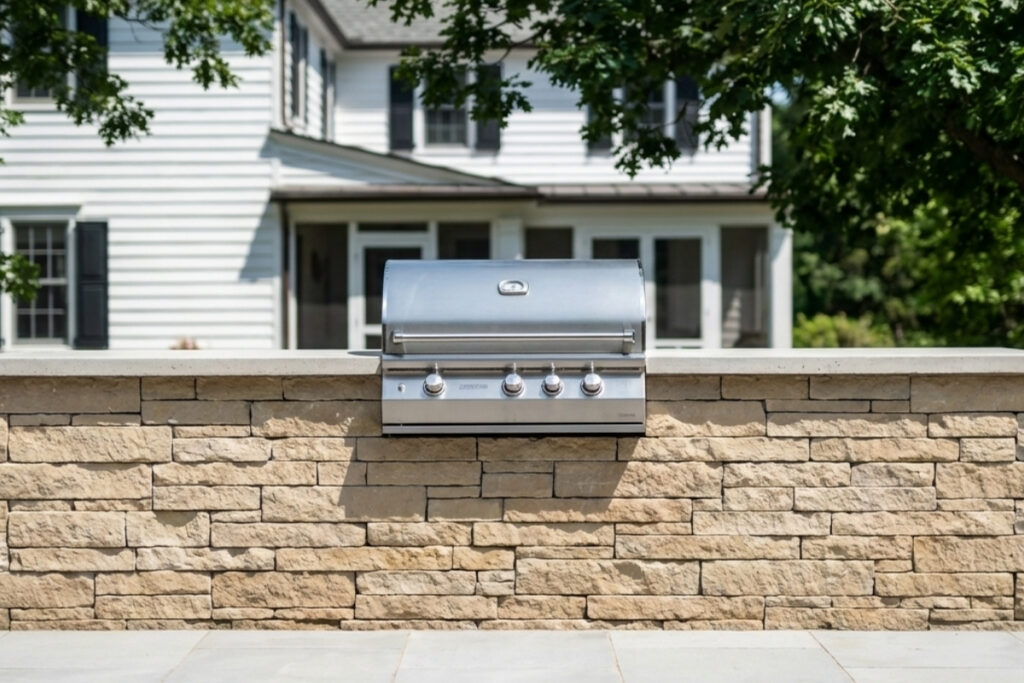
Straight Island (Most Common)
A single linear island, typically 8–14 feet long, with the grill at center and counter space on both sides. Simple, space-efficient, and the most affordable layout.
Dimensions: 8–14 feet long, 28–30 inches deep, 36 inches counter height. Allow 36 inches of clear space on the front (cook's side) and back.
Best for: Patios under 300 square feet, modest budgets, grill-focused cooking. A straight island with grill, counter, and undercounter fridge is the entry point for a legitimate outdoor kitchen.
L-Shape
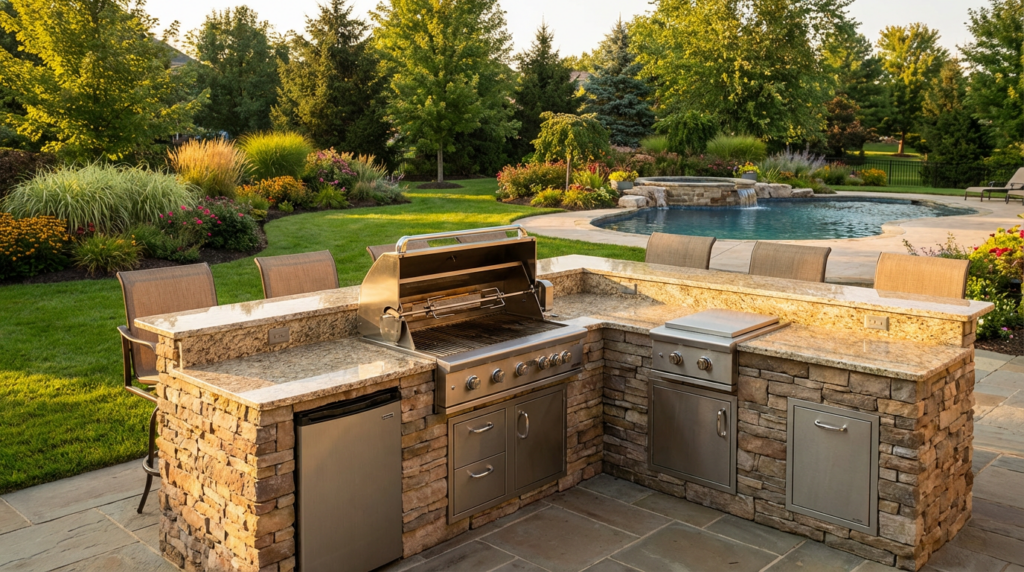
A perpendicular extension off one end of the main island — usually for a sink, bar seating, or secondary prep zone. The L creates a defined cooking area and adds significantly more counter space.
Dimensions: Primary run 8–12 feet, L extension 4–8 feet. Total counter area roughly doubles compared to a straight island of the same primary length.
Best for: Kitchens with a sink (the L gives the plumbing its own zone), bar seating (guests sit at the L extension facing the cook), or multi-appliance setups that need more counter.
U-Shape
The cook is surrounded on three sides — maximum appliance and counter capacity. The U-shape is a full kitchen with dedicated zones: cook zone, prep zone, bar/serving zone.
Dimensions: Requires a minimum footprint of 12×12 feet for the island alone, plus traffic clearance on all open sides. Total footprint with clearances: roughly 16×16 feet.
Best for: Dedicated outdoor cooks, frequent entertainers, properties with large patio areas that can accommodate the footprint. The U-shape is the layout where the outdoor kitchen truly replaces the indoor kitchen during cooking season.
Custom / Freeform
Islands that wrap around existing features, follow curves, or incorporate non-standard shapes. Common when integrating a kitchen with a fire feature, building into a slope, or working within an irregular patio footprint.
Custom layouts cost more (each angle and curve adds construction time) but produce results that a rectangular island can't achieve. Most of our premium outdoor kitchen projects are custom configurations.
Phase 3: Select Your Appliances
The Grill (Non-Negotiable)
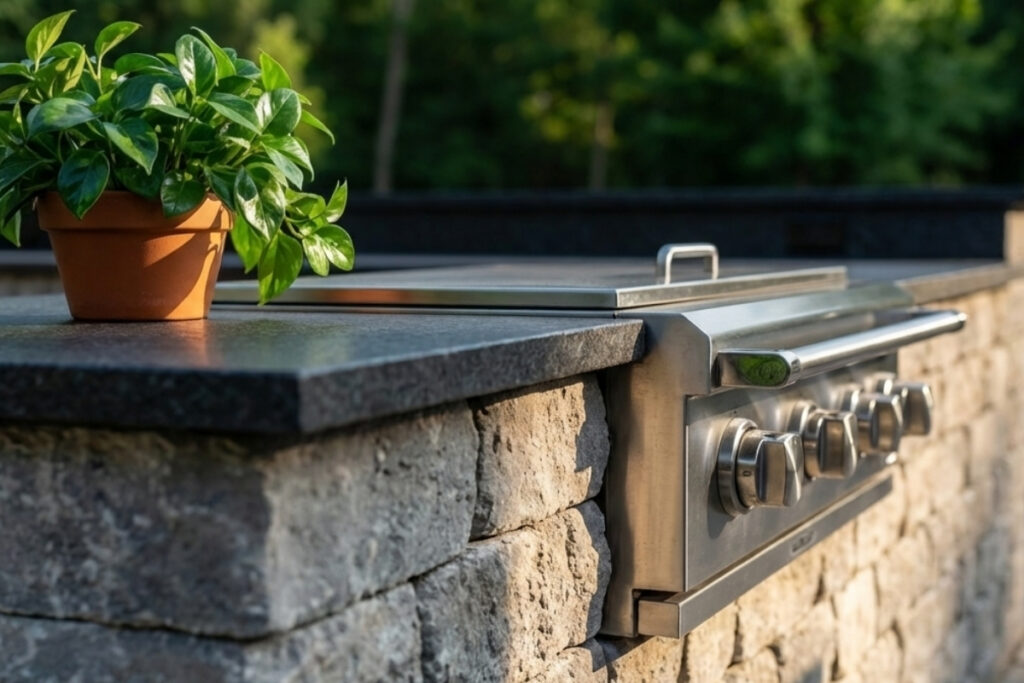
The built-in grill is the centerpiece. Choose based on cooking style, size needs, and budget.
Size: 30-inch (compact, 2-person), 36-inch (standard, 4–6 person), 42-inch (large, 6–8 person), 48-inch (entertainer, 8+ person). A 36-inch grill handles most families and dinner parties. Go 42 or 48 only if you regularly cook for large groups.
Fuel: Natural gas (preferred — unlimited supply, consistent performance). Propane alternative where gas line access isn't practical.
Key features: Stainless steel construction (304 grade minimum), cast stainless or brass burners, warming rack, rotisserie option, built-in thermometer.
Brands: Lynx (premium), Alfresco (premium), Blaze (mid-range, excellent value), Bull (value), Summerset (value). All produce quality outdoor grills. Price differences reflect materials, burner quality, and warranty.
Secondary Cooking Appliances
- Side burner: $300–$800. Handles pots, pans, and sauces. Essential if you cook sides outdoors.
- Power burner: $500–$1,500. High-output (30,000–60,000 BTU) for large pots, boiling, and deep frying.
- Pizza oven: $2,000–$15,000 installed. Wood-fired or gas. Growing rapidly in popularity.
- Smoker: $1,500–$4,000 built-in. For low-and-slow cooking.
Cold Storage
- Undercounter refrigerator: $800–$2,500. Outdoor-rated, 24-inch wide. Keeps drinks and perishables at the cook station.
- Beverage cooler: $500–$1,500. Dedicated drink storage. Lower capacity than a full fridge but often sufficient.
- Ice maker: $1,500–$3,000. Produces ice on demand. Eliminates indoor trips for ice.
- Drop-in ice bin: $200–$600. Simple, no power required. Manual fill.
Sink
A plumbed sink transforms the kitchen from a cooking station to a self-contained workspace. Hot and cold supply, drain to sewer/septic, and winterization provisions (drain-down valves for freeze protection in Ohio).
Budget $2,000–$5,000 for the plumbing work. The sink itself runs $200–$800 for a quality stainless steel drop-in.
Phase 4: Design the Countertops
The countertop ties the kitchen together visually and takes the most abuse of any surface — heat from pans, knife cuts, food spills, weather exposure, and freeze-thaw.
Recommended for Ohio:
- Granite: $50–$100/linear foot. The proven standard. Dense, heat-proof, stain-resistant (when sealed annually). Handles freeze-thaw.
- Porcelain slab: $70–$120/linear foot. Near-zero water absorption, UV-stable, won't stain. The premium option with the best performance characteristics.
- Bluestone: $60–$90/linear foot. Natural stone with character. Needs sealing. Good for rustic or traditional aesthetics.
Avoid outdoors: Quartz/engineered stone (UV and freeze-thaw damage), marble (too porous and soft), laminate (moisture damage).
Counter depth: 24–26 inches standard. If adding a bar overhang for seating, extend 12–15 inches beyond the island face at that section. Allow 24 inches of bar width per seat.
Phase 5: Plan the Utilities
Gas
Every gas appliance needs a dedicated supply line sized for its BTU demand. A grill (60,000 BTU) plus a side burner (15,000 BTU) plus a fire feature (40,000 BTU) requires a supply line sized for the combined load. Undersized gas lines result in low flame, poor cooking performance, and frustrated homeowners.
We run gas lines from the meter to the kitchen before the patio base goes down — the line is buried beneath the aggregate base. Gas work requires a permit and inspection in Northeast Ohio. The NFPA sets installation standards for outdoor gas appliances.
Electrical
At minimum: one GFCI-protected circuit for refrigeration, one for general outlets (blender, music, phone charging). If the kitchen includes a pizza oven blower, ice maker, or heating, add dedicated circuits.
All outdoor circuits must meet National Electrical Code requirements — GFCI protection, weatherproof boxes, rated for outdoor use.
Plumbing (If Including a Sink)
Hot and cold supply lines from the house. Drain line to sewer or septic. All exterior plumbing must include freeze protection — in Ohio, outdoor water lines freeze from November through March.
Winterization options: Drain-down valves (manual — close valve, open drain, lines empty by gravity), compressed air blowout (professional — forced air clears all water), or heated line wrapping (continuous — prevents freezing but uses energy).
We install drain-down valves as standard — they're the simplest and most reliable approach.
Phase 6: Choose the Finish Materials
Island Structure
- Concrete block (CMU): Most common. Fire-rated, strong, accepts any finish veneer.
- Galvanized steel framing: Lighter, faster to build. Sheathed in cement board. Better for complex configurations.
Veneer (What You See)
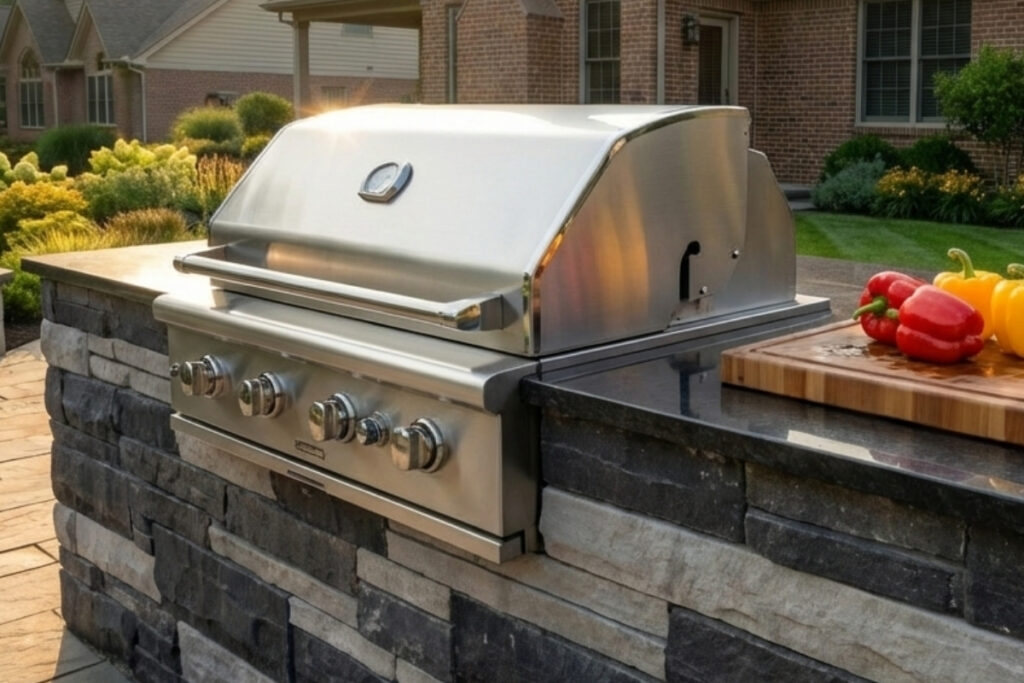
- Natural stone veneer: Thin-cut natural stone adhered to the block structure. Premium appearance, permanent. $20–$40/sqft.
- Manufactured stone veneer: Concrete-based product replicating natural stone. Lighter, less expensive, wide variety. $12–$25/sqft.
- Stucco: Smooth, troweled finish in any color. Modern, clean aesthetic. $8–$15/sqft.
- Brick: Traditional. Integrates with brick homes and Colonial/Federal architecture. $15–$25/sqft.
Match the veneer to your home's architecture and the surrounding hardscape. A natural stone veneer island on a paver patio with a bluestone countertop is a classic combination.
Phase 7: Consider the Surroundings
An outdoor kitchen doesn't exist in isolation. Design it as part of the larger space:
Orientation
- Face the cook toward the patio and guests — the social cook position
- Point the grill away from prevailing wind (southwest in Northeast Ohio) to manage smoke
- If the kitchen is near the house, align the grill smoke path away from windows and doors
Relationship to Fire Features
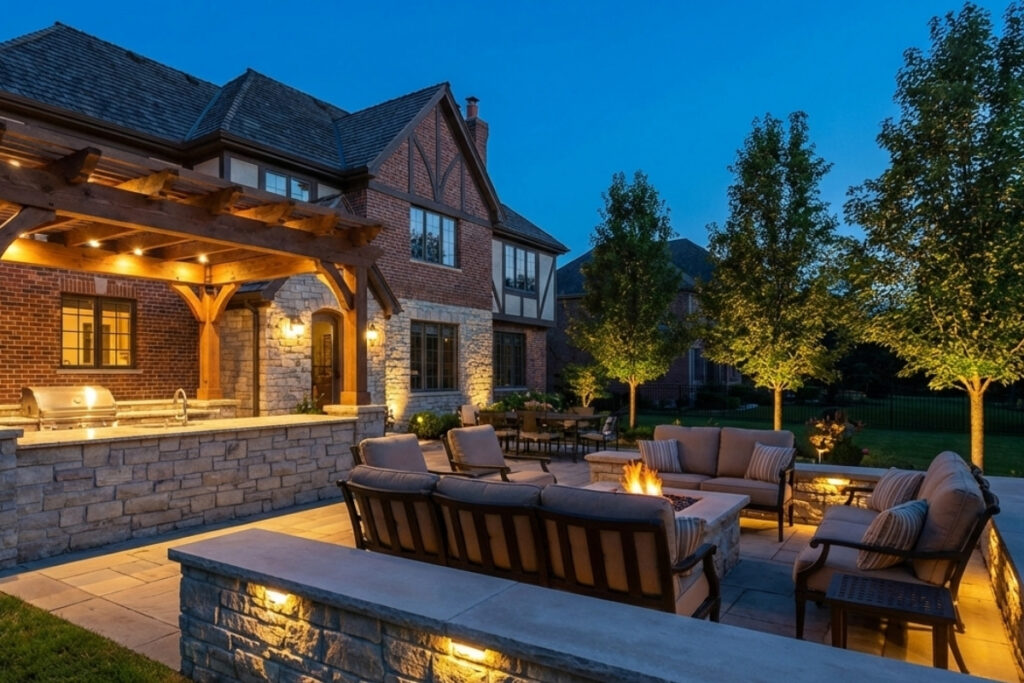
A fire pit or fireplace near the kitchen creates an outdoor entertaining zone. Typical layout: kitchen for cooking, dining table adjacent, fire pit beyond. Guests flow from kitchen to table to fire as the evening progresses.
Shade and Coverage
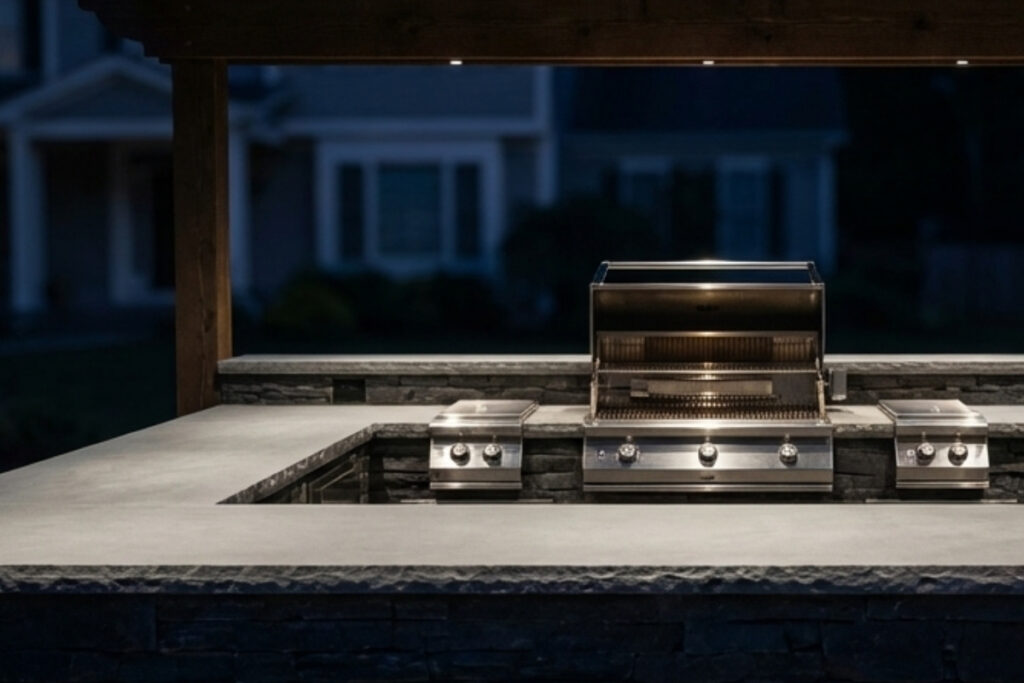
A pergola over the kitchen provides shade for the cook, rain protection for the appliances, and a visual frame for the space. Not every kitchen needs a roof, but one that gets regular use benefits from coverage.
Lighting
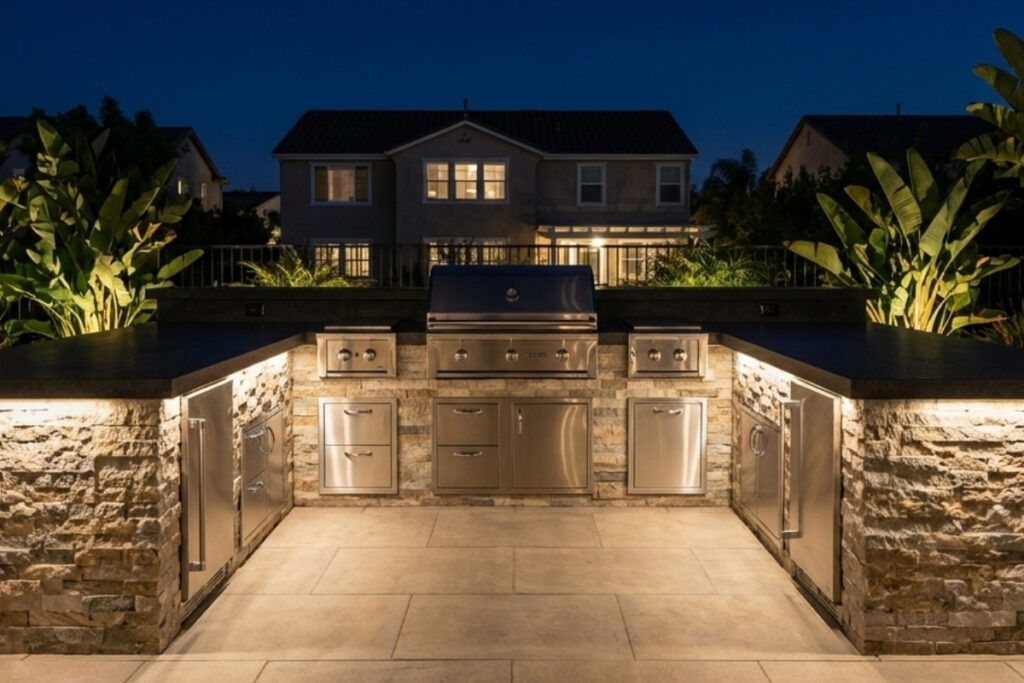
Task lighting over the grill and prep areas. Ambient lighting under the counter overhang. Accent lighting on the island face. Plan landscape lighting during the design phase — electrical conduit runs during construction, before the patio surface is laid.
Ohio-Specific Design Considerations
Winterization
Every outdoor kitchen in Northeast Ohio needs a winter shutdown plan. At minimum:
- Water lines drained before the first hard freeze
- Appliances covered with fitted, weatherproof covers
- Gas shut off at the outdoor kitchen valve (not the house meter)
- Countertop sealed before winter (granite, bluestone)
The kitchen structure, countertops, and veneer are permanent — they don't need seasonal protection. Only the plumbing and appliances need attention.
Wind Exposure
Open kitchens on exposed sites (lakefront communities, hilltop properties) need wind management. A partial back wall or return wall on the kitchen island provides wind protection for gas burners (wind affects flame stability) and the cook's comfort.
Season Extension
In Northeast Ohio, outdoor kitchen season runs April through November — eight months. Adding a fire feature, outdoor heater, or a covered structure extends that into March and December. Some of our clients in Westlake, Rocky River, and Strongsville use their outdoor kitchens year-round with weather protection and heating.
Budget Ranges
| Kitchen Level | Components | Installed Cost |
|---|---|---|
| Entry | Grill, counter, storage | $10,000–$18,000 |
| Mid-range | Grill, fridge, counter, side burner, bar seating | $20,000–$40,000 |
| Premium | Multiple appliances, sink, premium materials, pizza oven | $40,000–$65,000 |
| Luxury | Full kitchen, custom design, premium everything | $65,000–$100,000+ |
Detailed pricing in our outdoor kitchen cost breakdown.
Frequently Asked Questions
How long does outdoor kitchen construction take?
Design phase: 4–8 weeks. Construction: 2–4 weeks for most residential kitchens. Utility work (gas, electrical, plumbing) adds 3–7 days depending on complexity. Total timeline from first consultation to cooking: 2–3 months.
Can I build an outdoor kitchen on an existing patio?
Yes, with evaluation. The existing patio base must support the island weight (2,000–5,000+ lbs). Pavers can be temporarily removed for utility routing. Concrete patios require saw-cutting for gas and plumbing lines. We assess existing patios on a case-by-case basis.
What's the minimum I need for a functional outdoor kitchen?
A built-in grill with 36 inches of counter on each side — roughly $10,000–$14,000 installed. That gives you a legitimate built-in cooking station with workspace. Everything else (fridge, sink, pizza oven, bar seating) is additive.
Do I need a permit?
Gas work: yes. Electrical work: yes. Plumbing: usually yes. The island structure itself (if not supporting a roof) typically doesn't require a building permit. We handle all permitting for our projects.
What's the best countertop for Ohio outdoor kitchens?
Granite. It handles heat, freeze-thaw, UV, and staining (when sealed) without issues. Porcelain slab is the premium alternative with even better performance — zero water absorption means exceptional freeze-thaw resistance. Both outlast the appliances they surround. The National Association of Realtors notes outdoor kitchen additions consistently rank among top outdoor improvements.
Ready to design your outdoor kitchen? Request your design consultation — we'll evaluate your site, discuss your cooking and entertaining style, and create a kitchen design that fits your space, budget, and how you live outdoors. For inspiration, browse our outdoor kitchen design ideas.
Bee Green Outdoor Living designs and builds custom outdoor kitchens across Greater Cleveland, Medina County, and Lorain County.